
Photography Guides
How to Get a Pure White Background on Jewelry Photos

Light the backdrop separately from the jewelry so it records close to white, then set the background to exactly RGB 255,255,255 in an editor and confirm the number with the eyedropper. A background that looks white on screen can still read below 255, and Amazon's rule is written as a number.
This is the hands-on version: how to shoot for a white background, how to finish it in editing, and how to check it. For the definition, see white-background photography on our background replacement page. For each marketplace's own rule, see the marketplace image requirements.
Why it has to be a number, not a look
On Amazon Seller Central, the product image requirements page says a main image must "Have a pure white background (RGB color values: 255, 255, 255)". A second Amazon help page, on text, logos, graphics and watermarks, repeats that rule and adds that the non-white background flag applies if "There is a background and it is not pure white (RGB 255, 255, 255) with minimal shadows around the product, OR There is a visual frame, line, or border on any portion of the edges of the image" (Amazon Seller Central, read 29 October 2026). That page says that when an image has been edited to remove background elements, "any background areas that remain, such as off-white or gray backdrops, artifacts, objects, or outlines that are added around the border of the image, are not allowed."
The product image requirements page also says to show the product as 85% of the image, and the entire product within the frame. So the finish is a number for the background and a fill ratio for the product. A pale gray you cannot see on your monitor is still not 255.
Not every marketplace asks for white. Etsy's listing image policy, as checked on 5 October 2026 and summarized on our Etsy specs page, requires photos to show the actual item and does not require a white background. Check the marketplace image requirements for your channel before you spend time on the finish.
Step 1: Choose a backdrop that can reach white
A white paper sweep, a white acrylic sheet or a lightbox floor all work. The backdrop has to be clean and creaseless, because any fold or fleck becomes a gray line you must remove later. Frosted white acrylic lit from below is a common way to get a bright, even field, and clear acrylic sitting in front of a separate white background gives a soft reflection under the piece that some sellers prefer to a drop shadow.
What goes wrong: a white that has gone cream with age, a seam where the sweep curves, a dust mark under a ring. Replace the paper rather than editing a dirty sheet.
Step 2: Light the background on its own
The common mistake is to hope the light on the piece will also whiten the backdrop. It will not, because soft light aimed at metal is too dim for a white background. Give the backdrop its own light, aimed at it and away from the jewelry, and keep the piece well forward of it so that background light does not spill onto the metal.
A lightbox with lights above and below already does this. On a table, use one light for the piece and one, or a bounce card, for the background.
The usual mistake: a bright patch in the middle of the backdrop and gray corners. Move the light back or add a second one so the field is even from edge to edge. An uneven backdrop is much harder to push to 255 without damaging the edges of the piece.
Step 3: Expose for the jewelry, check the backdrop
Set exposure so the metal and stones keep their detail, and let the backdrop run brighter. If you expose for the white, polished silver blows out to flat white and loses its shape, and no editor brings that back. Look at the histogram on your camera or in your editor: the background should sit against the right-hand edge, and the piece should not be clipped.
Shoot with a neutral white balance, or set it from a gray card. A backdrop with a blue or yellow cast cannot be set to pure white without a color shift, which shows up in the silver.
What goes wrong: bright halos from a backdrop that is far too hot. If a glow wraps the edges of a chain, lower the background light and finish the rest in editing.
Step 4: Decide what to do about shadows
Per Amazon's wording above, minimal shadows around the product are allowed, but shadows that run to the edge of the frame are not. A soft contact shadow or a faint reflection under a ring looks natural and helps the piece sit on the page, so keep it small and let it fade before it reaches the edge.
Watch for: a hard shadow from a single light, which draws a gray shape onto the white. Use a larger light source and a bounce card on the shadow side, as you would for any jewelry shoot. The how to photograph jewelry guide covers the lighting in more detail.
Step 5: Push the background to 255 in editing
Open the photo in an editor with Levels or Curves and an eyedropper that reports RGB values, such as Photoshop, GIMP or Photopea. Use the white-point eyedropper in Levels and click a clean patch of background, or drag the white-point slider left until the backdrop turns white. Everything at or above that value becomes 255.
Then check the piece. If the metal's brightest highlights have clipped to white as well, undo it and select the background first, then apply the adjustment only to the selection. A background-only adjustment with a soft-edged selection keeps polished silver from turning flat.
What goes wrong, in order of how often it happens: a gray fringe left around fine chain; the inside of a ring or the gaps between prongs still showing a pale gray; a white that clips the stones' highlights. Zoom to 200% and look at every enclosed gap, because those are the places a selection tool misses. Chains and openwork are where a hand-drawn mask is slowest, and where background removal tools earn their keep.
Step 6: Check the result
Sample the background with the eyedropper in all four corners, along each edge, and inside any open gap in the piece. Each should read 255, 255, 255. Also check that nothing touches the frame, and that the piece fills about 85% of it.
Export as JPEG at full size. Keep the original file and a layered copy, so that you can redo the finish if a marketplace changes its rule or you switch channels.
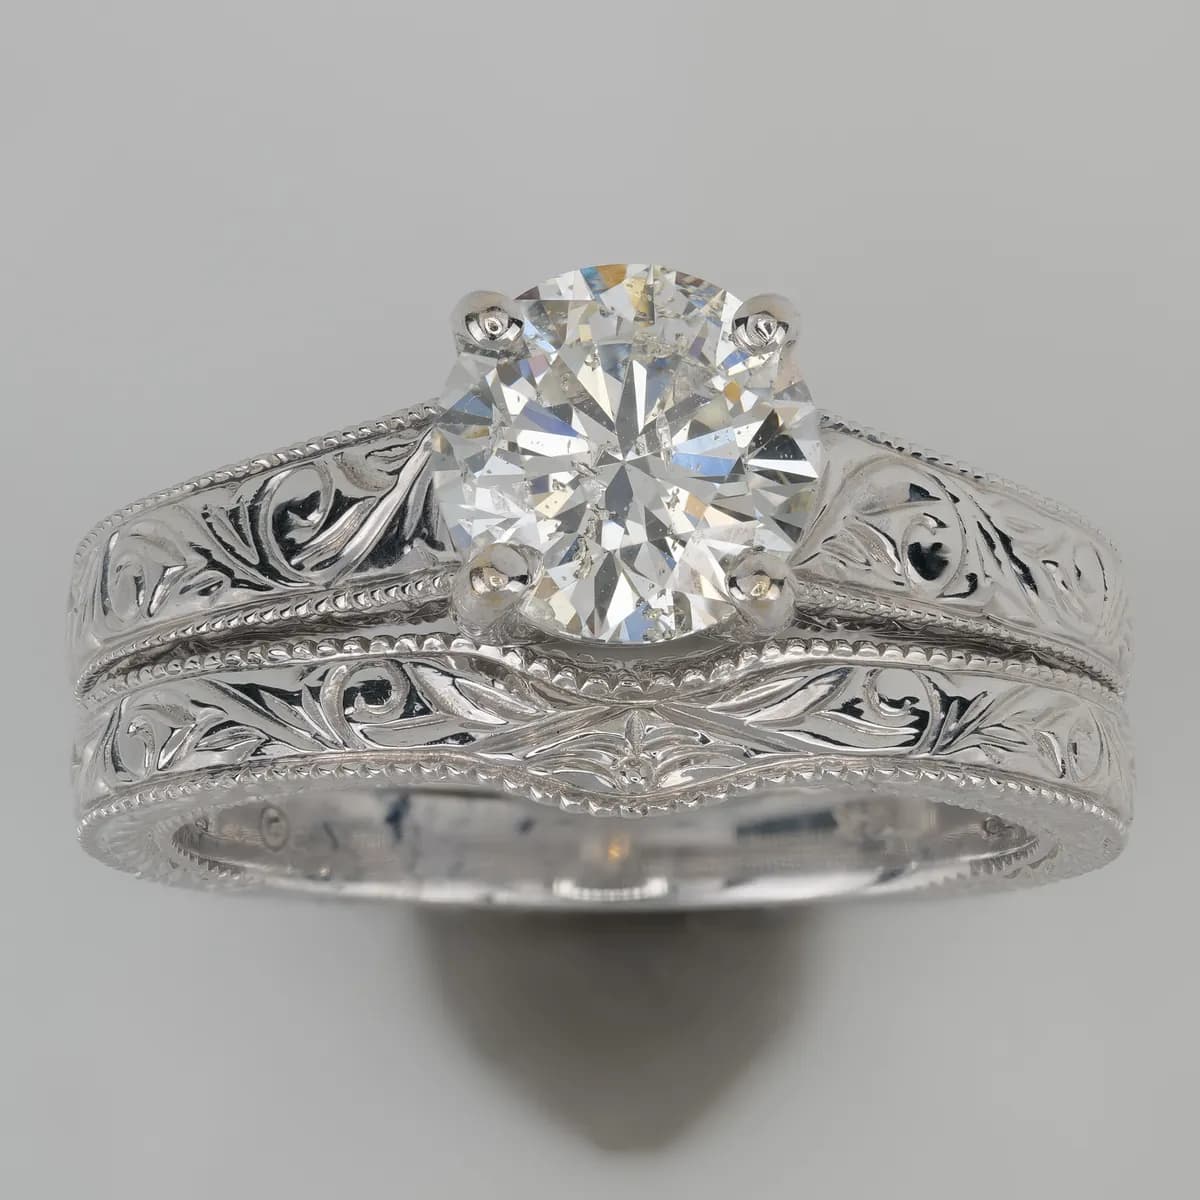 Starting photo
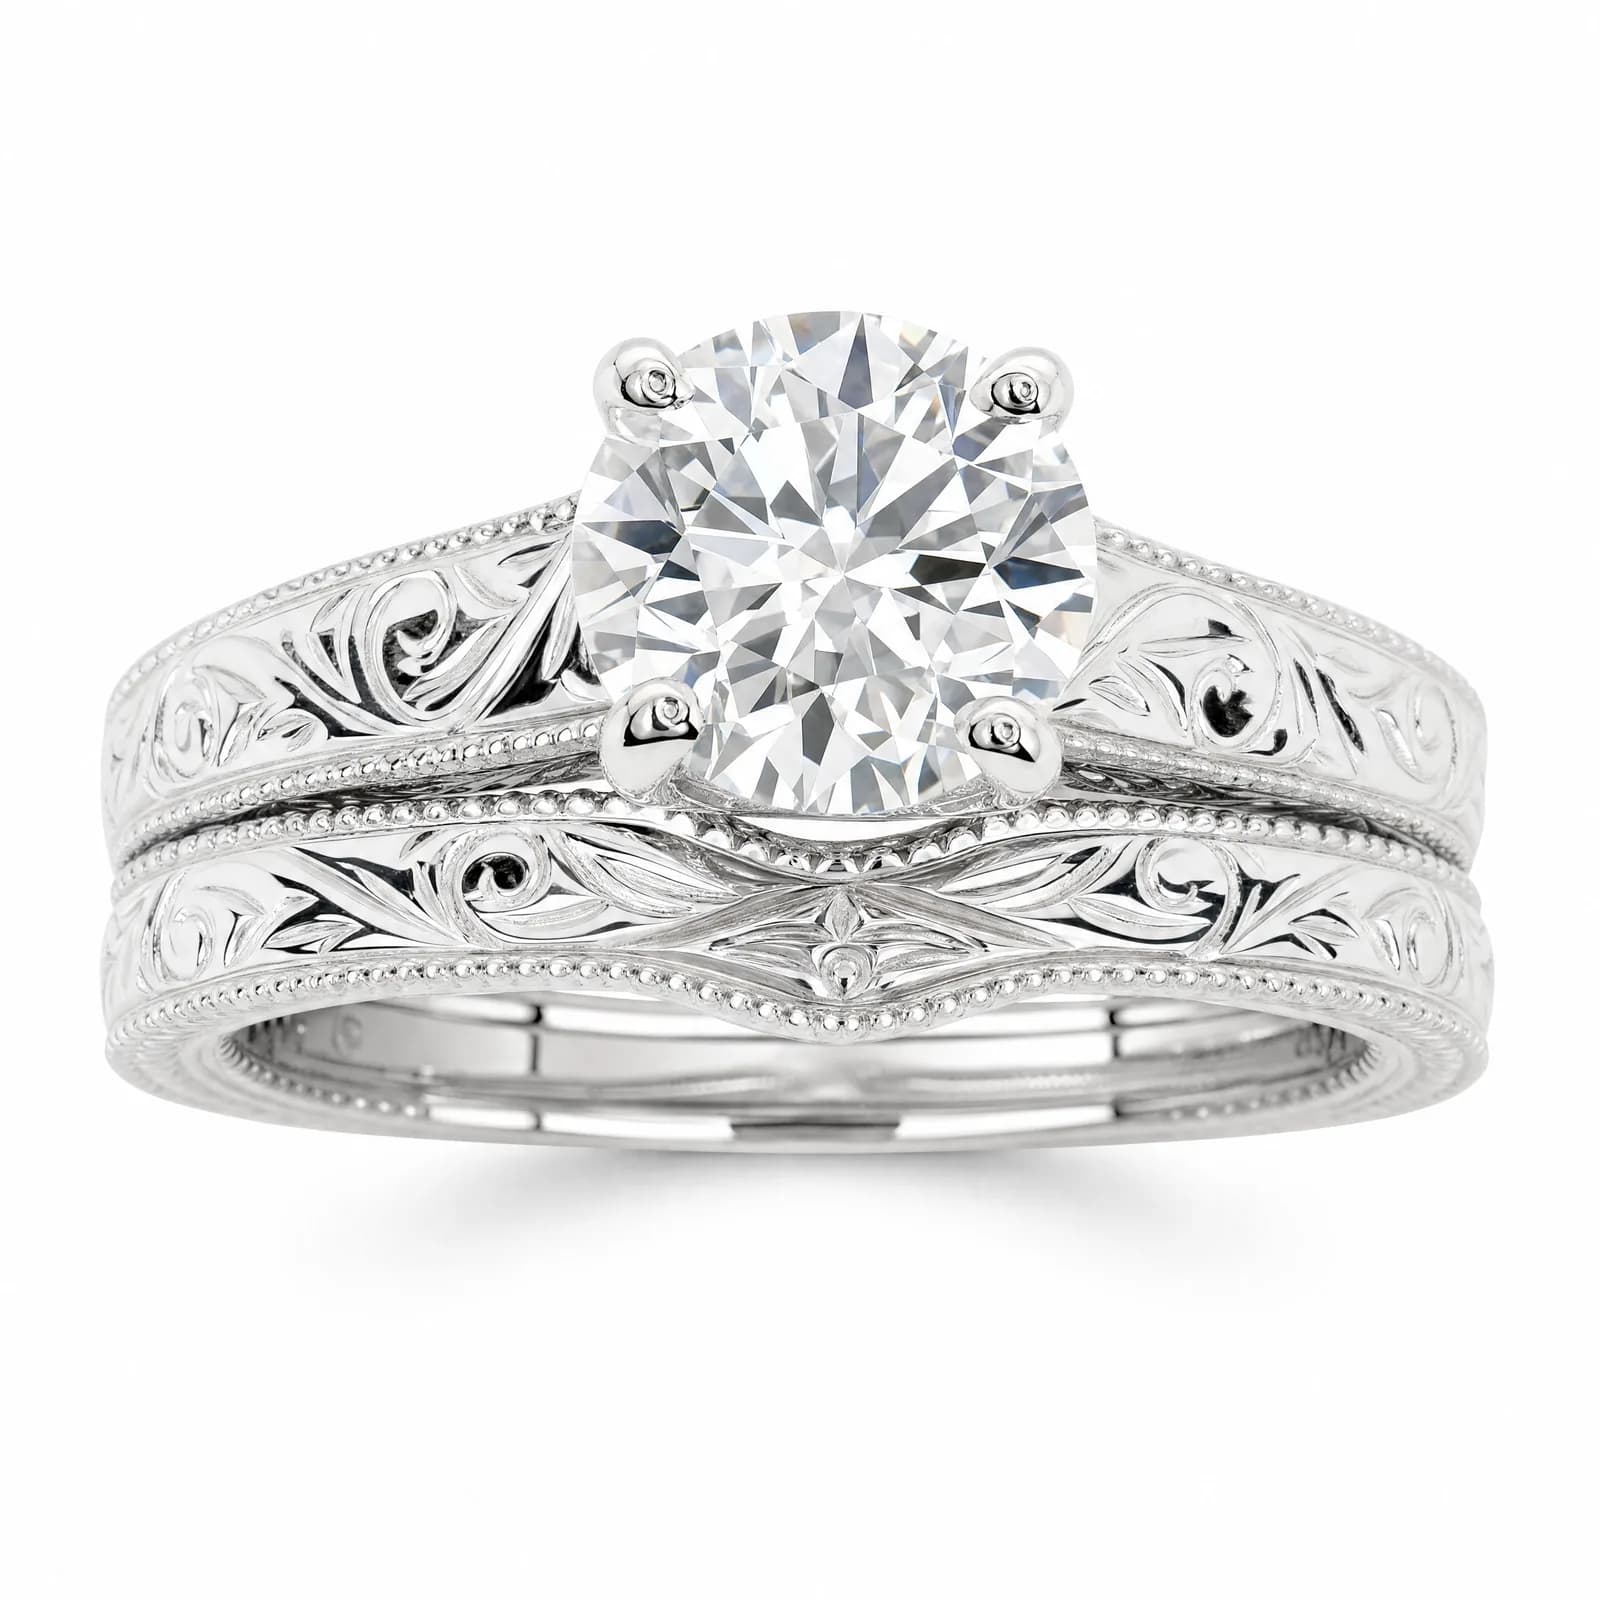 Made with Hues
If the photo is already shot on gray or a color
You do not have to reshoot. A gray, cream or colored background can be replaced, and the work is the same as Step 5 with a harder mask. Jewelry photo retouching can do this in one step, and Hues returns the piece on clean white with its edges and shadows handled. New accounts get 80 free credits after email verification, so you can run a few of your own photos before deciding. Whatever tool you use, finish with the Step 6 check, because the marketplace checks the pixels, not the method.