
Virtual Try-On
How to Try On a Bracelet Online Before You Buy
Measure your wrist, add the allowance for the fit you want, then look at the bracelet on a photo of your own wrist. The tape measure gets the length right. Only the photo shows whether a slim chain looks delicate on you or just disappears, and whether a wide cuff looks bold or heavy.
Step 1: Measure your wrist
Wrap a soft tape, or a strip of paper you then lay against a ruler, just below the wrist bone, snug but not tight. Write the number down in inches and centimeters, since listings use both. Most women wear a 6.5 to 7 inch bracelet. Men usually wear 7.5 inches or more, and 8 inches is the most popular men's length.
Step 2: Add the allowance for your fit
Add a quarter to half an inch for a snug fit, which suits a tennis bracelet. Add about half an inch to an inch for comfort, and an inch to an inch and a half for a loose, charm-bracelet drape. A 6 inch wrist, for example, takes a 6.5 to 7 inch bracelet for a comfortable fit. Our bracelet size chart has the full table.
Check what a size label means before you order. Some brands label bracelets by the wrist they fit and others by the bracelet's own length: Tiffany's Small fits a 5.26 to 5.75 inch wrist, while a Mejuri 6.5 inch bracelet is the chain itself. If you fall between two sizes, choose the larger one.
Bangles are sized by the hand
A rigid bangle has to pass over your hand, so the wrist measurement doesn't decide its size. Tuck your thumb toward your palm and measure around the widest part of the hand, over the knuckles. That circumference is what you match to a bangle's inner size.
Step 3: See it on your wrist
A photo try-on works with any bracelet you can find a clear picture of. Upload the bracelet, with the clasp and links visible, and a photo of your wrist and the back of your hand, and Hues returns an image of the bracelet on you in about 30 seconds. The bracelet try-on page explains each step.
If you are building a stack, try each piece on the same wrist photo and put the results side by side to see which ones work together.
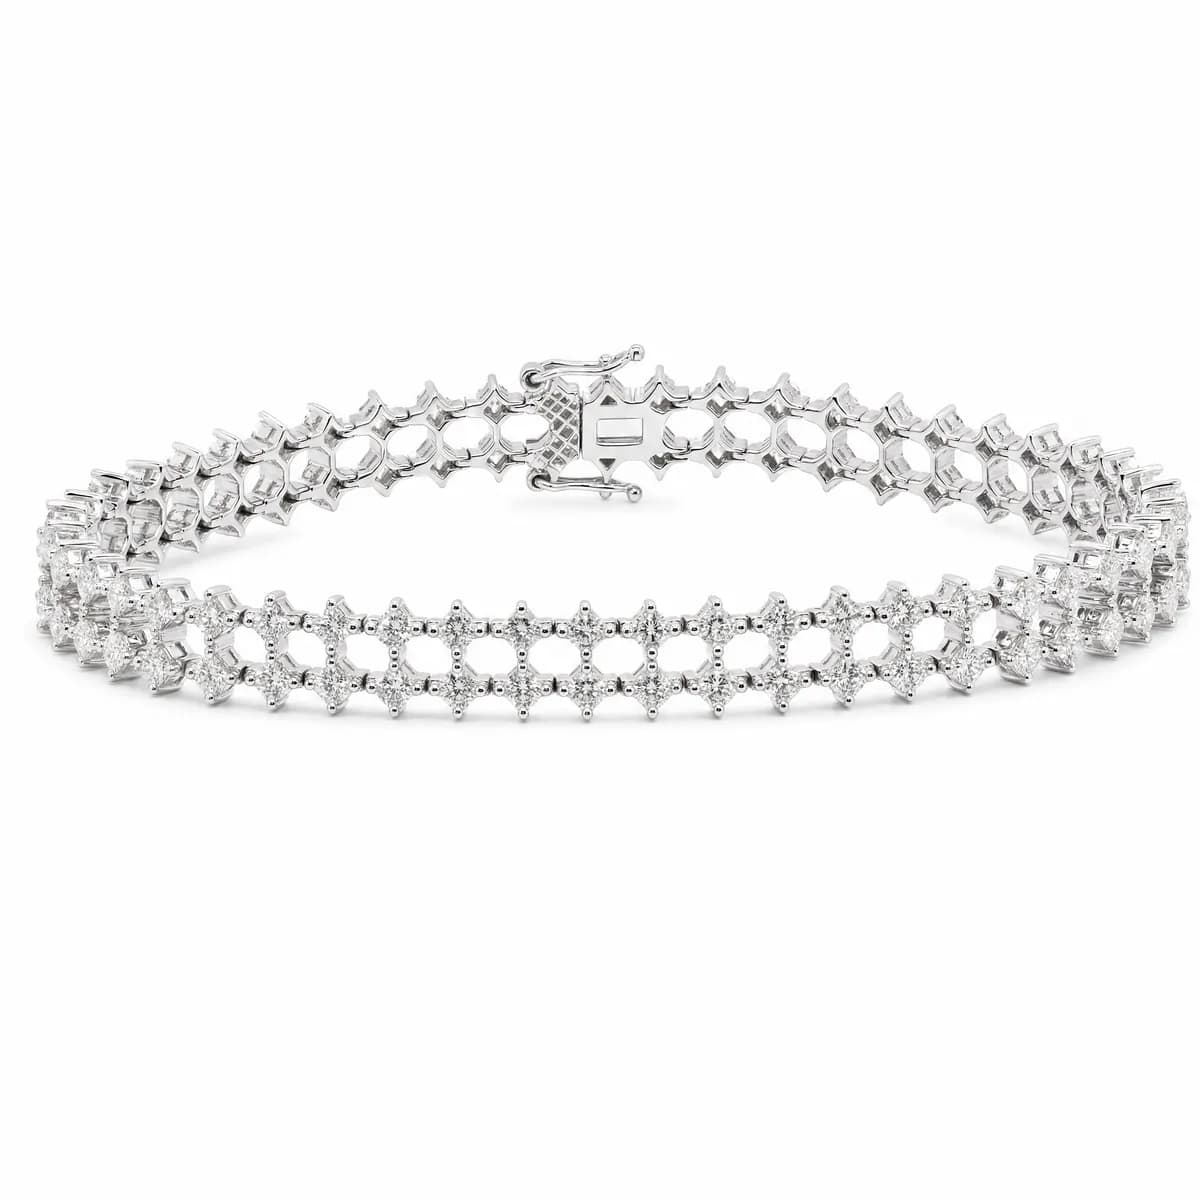 Starting photo
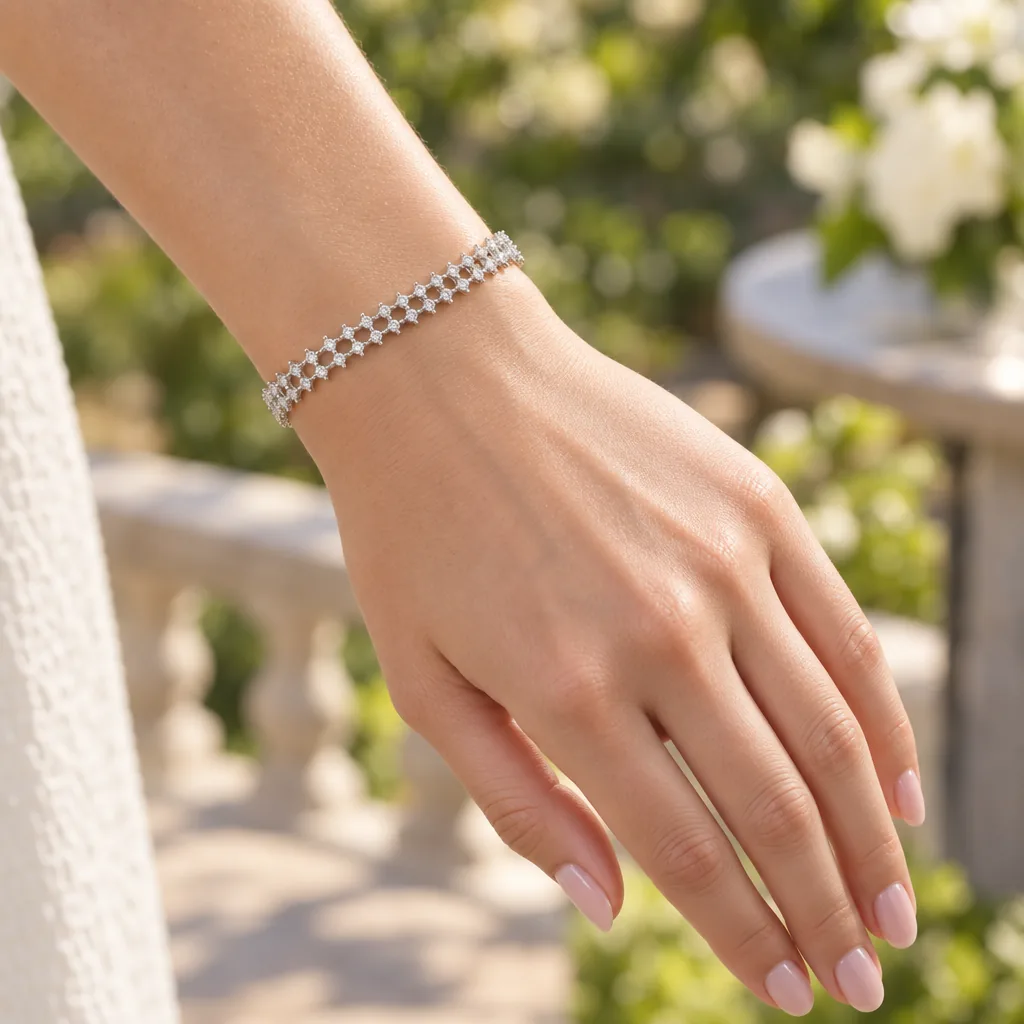 Made with Hues
Taking a wrist photo that works
- Remove your watch and other bracelets on that wrist
- Push your sleeve up past the wrist bone
- Keep the hand relaxed and the wrist straight
- Use daylight and avoid a hard flash
What a try-on can't tell you
A picture shows proportion and nothing else. It can't tell you how the bracelet feels, whether you can close the clasp one-handed, or how far a loose chain slides up your arm when you type. Take the length from your measurement and the style from the try-on, and buy from a seller with a fair return policy.