
Virtual Try-On
How to Try On a Ring Online Before You Buy
Find your ring size, narrow the choice by band width and stone shape, and then look at the rings you like on a photo of your own hand. The size decides whether a ring fits. Whether it suits you is harder to tell from a product photo on white, because band width and stone size look different on a finger.
Step 1: Find your ring size
Wrap a strip of paper or a piece of string around the base of the finger, snug but not tight, mark where the ends meet and measure the length in millimeters. That is your inner circumference. Our ring size chart converts it to US, UK, EU, Japanese and Indian sizes: a US size 7, for example, has an inner circumference of 54.4 mm.
Measure later in the day at a normal room temperature, since fingers are smaller when cold and larger when warm. If you fall between two sizes, choose the larger one.
Step 2: Check the band width
A wide band feels tighter than a thin one in the same size, so retailers suggest going up about a quarter to half a size for bands wider than roughly 4 to 6 mm. Width changes the look as well as the fit. Blue Nile notes that a thin band makes the center stone appear larger.
Step 3: Pick a stone shape for your hand
Jewelers have a few style conventions for matching a ring to a hand. They are starting points, and your own hand is the real test.
- Elongated shapes, such as oval, pear, marquise and emerald, draw the eye along the finger, which is why jewelers often suggest them for shorter fingers.
- Slim bands keep a finger looking longer. SH Jewellery suggests 1.6 to 2 mm for shorter fingers and warns that very wide bands and chunky halos can shorten the look.
- East-west settings, where an elongated stone sits across the finger, draw the eye sideways instead of along the finger.
How big will the stone look?
Carat is a weight, not a size. Brilliant Earth gives about 6.4 mm across for a 1-carat round diamond, and the same 6.4 mm covers more of a slim finger than a wide one. Stone size against your own finger is the question a try-on answers best.
Step 4: See it on your hand
Some jewelers offer a camera viewer for their own rings. A photo try-on works with any ring you can find a clear picture of: you upload the ring and a photo of the back of your hand, and Hues returns an image of the ring on your finger in about 30 seconds. The ring try-on page explains each step.
Use it to compare. Put a solitaire, a halo and a three-stone setting on the same photo of your hand, or the same stone on a 2 mm and a 3 mm band, and look at them side by side.
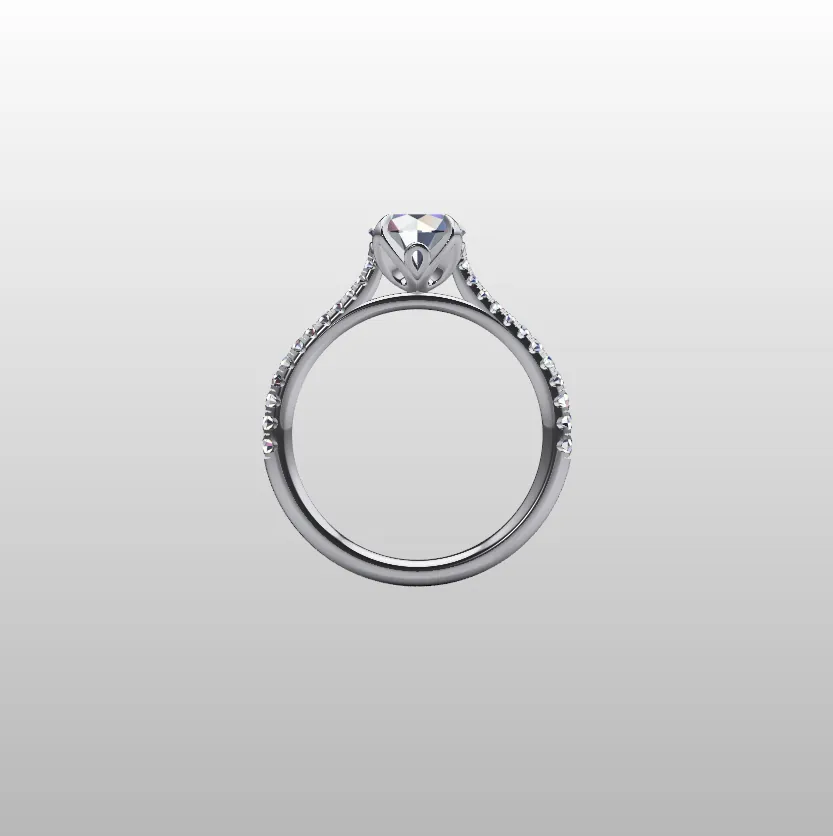 Starting photo
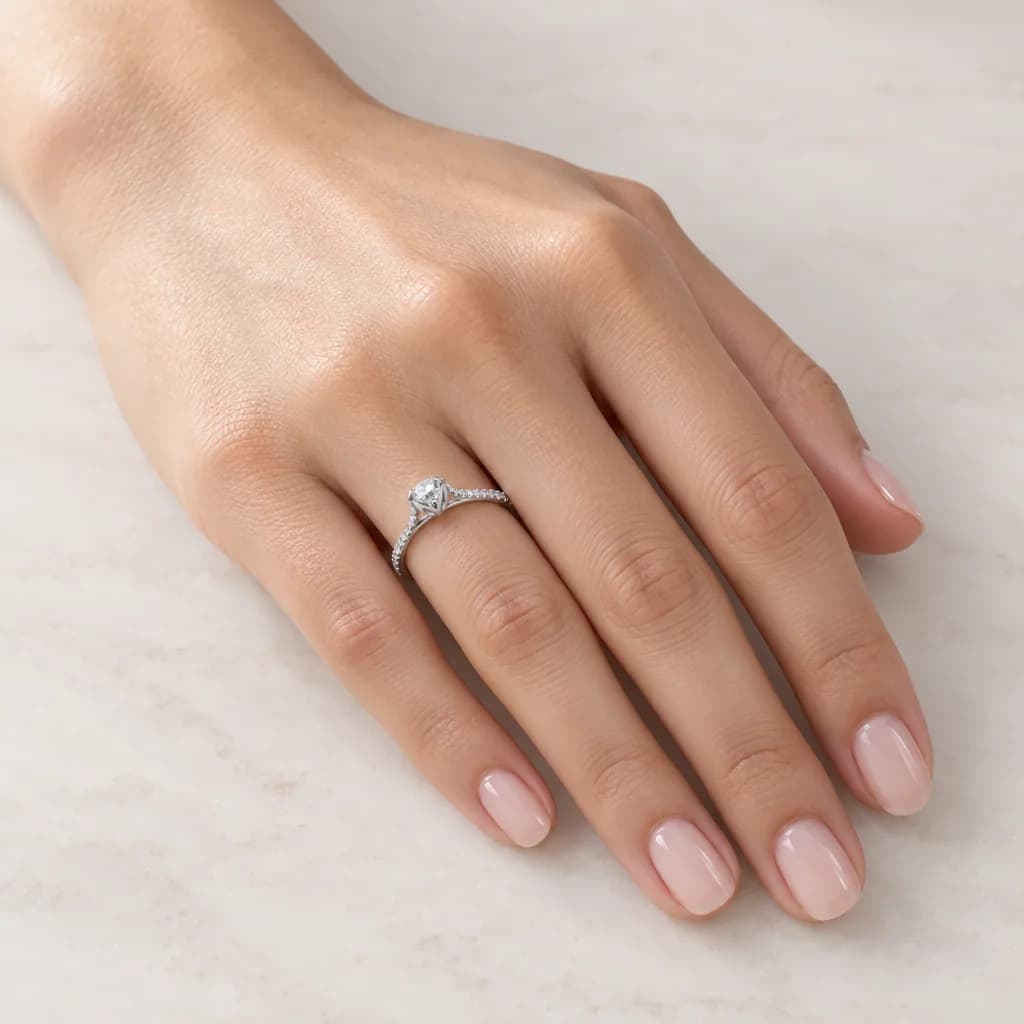 Made with Hues
Taking a hand photo that works
- Take off any rings on that hand first
- Photograph the back of the hand, fingers relaxed and slightly apart
- Keep the whole hand in frame, not just one finger
- Rest your hand on a plain surface so it stays still
- Shoot in daylight rather than with a flash
What a try-on can't tell you
A picture shows proportion. It cannot tell you how a ring feels over the knuckle, whether a high setting catches on knitwear, or how the stone sparkles as your hand moves. Use the try-on to narrow the choice, get your size from a measurement, and buy from a seller with a fair resizing and return policy.