
Photography Guides
Photographing Jewelry on Models: A Practical Guide
A good on-model jewelry photo needs three things: the right part of the right person for the piece, light that flatters metal without blowing out the skin, and a frame tight enough to show the jewelry but loose enough to show scale. Plan those three before the day and the shoot itself goes quickly.
This guide covers the shoot step by step, then where an AI on-model image can stand in for one.
Choose the model by the piece
Jewelry photography rarely needs a full model. It needs a hand, an ear, a neckline or a wrist, and agencies book parts models for exactly that.
- Rings: hands with even skin tone, short neat nails, and fingers that are not so slim the ring looks oversized. Book a manicure for the morning of the shoot.
- Earrings: a clear jawline and hair that can be pinned back. A side or three-quarter angle shows both the lobe and the drop.
- Necklaces: a long neck and an open neckline. The length of the chain decides how much of the chest is in frame.
- Bracelets and watches: a slim, hair-free wrist, and a sleeve that can be pushed well clear of the wrist bone.
Pose each piece so it reads
- Rings: back of the hand towards the camera, fingers relaxed and slightly apart, the ring finger a touch forward of the others
- Earrings: chin slightly down and turned, so the earring hangs clear of the neck rather than against it
- Necklaces: shoulders back and level; for pendants, check the bail sits centered
- Bracelets: wrist bent gently so the bracelet slides towards the hand and shows its links
- Watches: dial square to the camera, crown at three o'clock, strap visible on both sides
Light metal and skin together
Skin wants soft, broad light; polished metal and faceted stones want small, controlled highlights. The usual answer is one large diffused key light at forty-five degrees, a white reflector on the opposite side, and a small card or strip light placed to put a deliberate highlight on the metal. Watch for hot spots on high-polish gold and for the photographer's reflection in curved surfaces.
Shoot two kinds of frame for every piece: a context shot that shows where it sits on the body, and a tighter detail shot where the setting and stones are sharp. Most listings and ads need both.
Styling and consistency across a collection
Keep wardrobe neutral and free of other jewelry so the piece is the only thing that sparkles. Across a collection, consistency matters more than any single frame: same light, same crop, same backdrop, so the product grid on your store reads as one set. If you want to show range, vary skin tones across the collection deliberately rather than shot by shot.
Model releases and usage rights
Get a signed model release before the shoot, and make sure it covers where you will use the images (your store, marketplaces, social, paid ads, print) and for how long. Usage terms are often what drives the fee, so agree them in writing rather than assuming a buyout.
Frame for where the image will be used
Decide the crops before the shoot, because a model shot that works as a square on Instagram may lose the jewelry entirely in a tall marketplace frame. Shoot with room around the piece so the same frame can be cut to square for product grids and social, 4:5 for feeds, and a wider ratio for website banners. Check each marketplace's main-image rules too: most want the product alone on white for the first image, so the model shot usually goes second.
Shoot-day checklist
- Every piece cleaned with a polishing cloth, and handled with gloves from then on
- Model's nails, skin and hair prepped for the parts you are shooting
- A shot list with each piece, the pose and the crops you need
- Lights set and a test frame checked for hot spots before the model arrives
- A detail frame and a context frame captured for every piece
- Signed model release on file before the first frame
When an AI on-model image does the job
For catalog work, the on-model image is often a supporting frame next to the product shot, and booking a model for every new piece does not scale. An AI on-model tool takes the product photo you already have and places the piece on a generated model, holding the metal and stones to your photo. It is well suited to large catalogs, new or made-to-order pieces with no sample yet, and testing which look sells before paying for a shoot.
A real shoot is still the better choice for a campaign built around a recognizable face, for close-up video where the model moves and interacts with the piece, and anywhere you need the image to show one specific person.
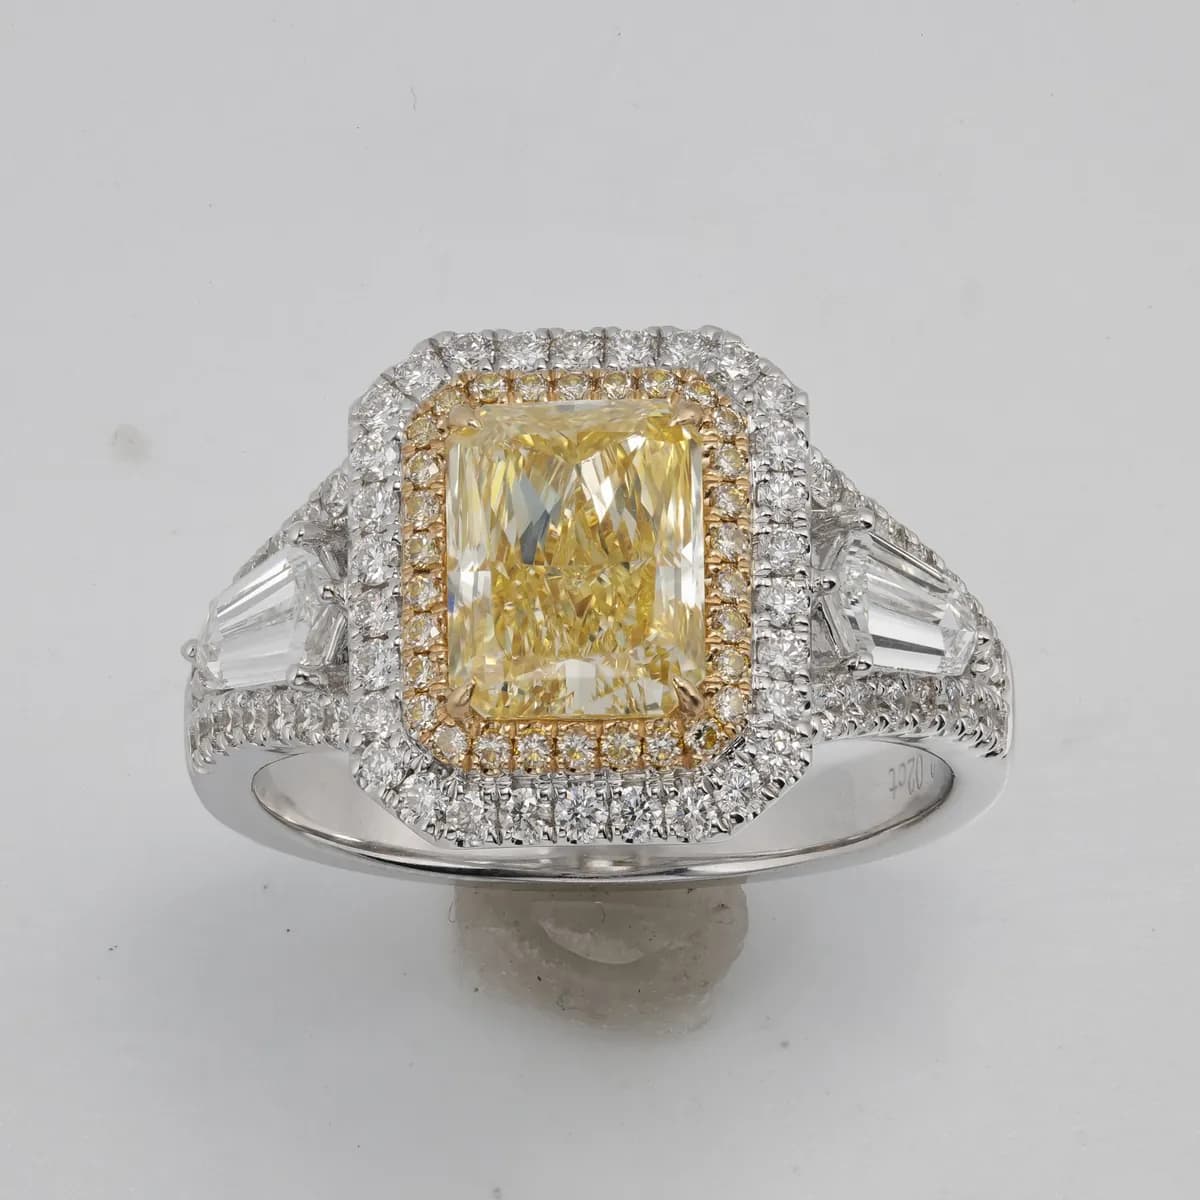 Starting photo
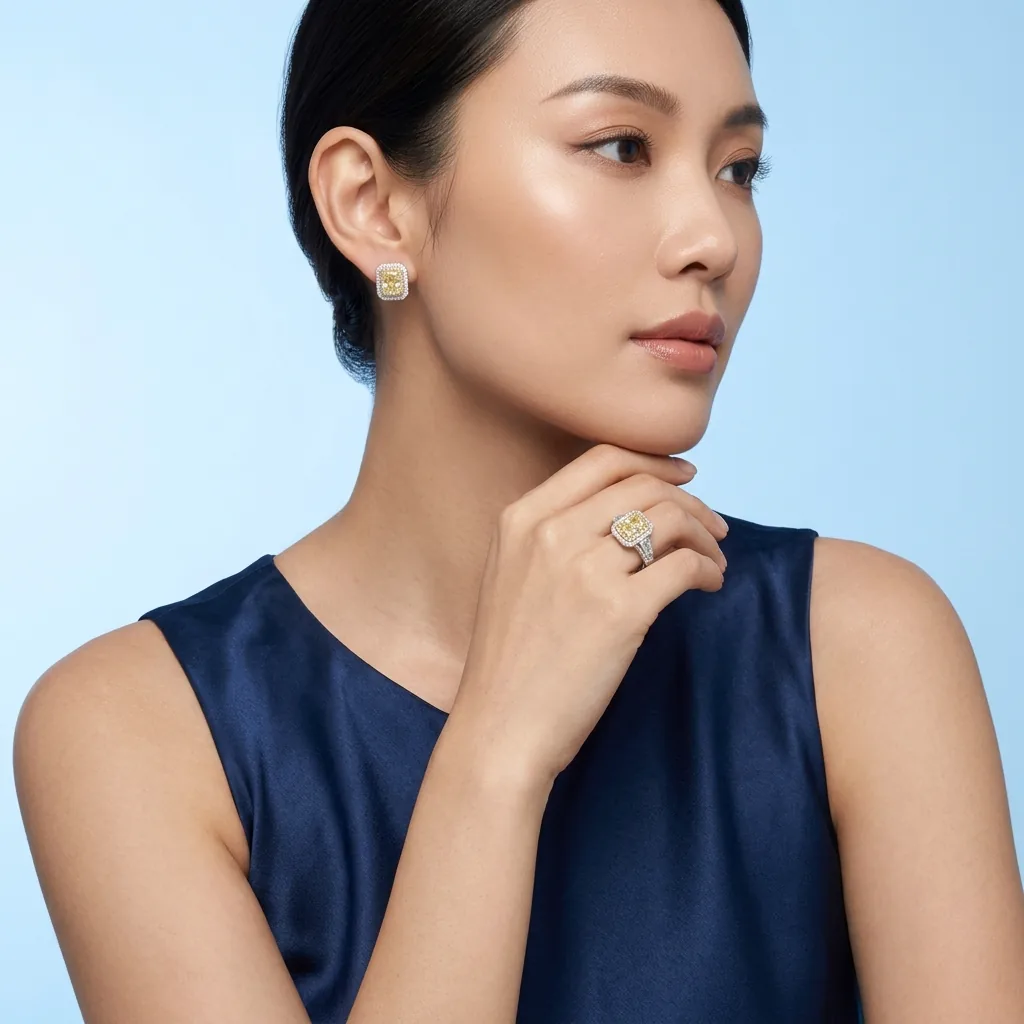 Made with Hues